Lionfish: a WordPress Starter Theme
Lionfish is our WordPress starter theme. It’s what every project is started with when we …
Baltimore Web Design Agency

Lionfish is our WordPress starter theme. It’s what every project is started with when we …
If you have an older outdated website for your business, you could be leaving money …

If you’ve put even any effort into marketing and your site, you know how tedious …

Having issues troubleshooting a WordPress problem? Need to find help? This guide will show you the way to WordPress support.

Moving a production site from one hosting environment to another can be a bit of a daunting task, even for a seasoned developer. It's a pretty straight forward process but there are a lot of moving parts, and the last thing you want to do is mess something up on an ecommerce site. Magento is a little mroe tricky than say, WooCommerce, or some more non-enterprise platforms.
Below is a outline of how to actual transfer the site and get up and going. I suggest before you even get to this point you take inventory of critical functionality, understand the DNS setup and ALL moving parts. This is just the actual moving of things!
If you're moving to a specific Magento host (say Nexcess), I suggest running a backup there too, of the fresh install. Worse case you roll it back to what you started with after signing up.
You can empty out any logging and cache directories before you do this if you like. It will make the backup smaller and run faster.
Here are the folders you CAN (optional!!) empty.
Now that you have a physical file backup, let's grab a copy of the database.
mysqldump --single-transaction -u username -p database_name --triggers | sed -e 's/DEFINER[ ]=[ ][^]*/*/' | gzip > databasename.date +"%Y%m%d".sql.gz
I suggest SCP to do this. It will be faster than downloading that backup, unpacking it, uploading the files and hoping your FTP client doesn't blow up. Because that happens. Often. Then you are kicked out of your session and have to try to log back in, only to be blocked or your session is still stuck and its at max limit for connections... you get the point. SSH/SCP is your friend.
Your command on the server you are moving FROM, will look something like this:
scp -r /public_html/* username@NEWhostname.com:/public_html
Need more info on SCP? Here is a good walkthrough on using SCP to move files.
Now you wait. It's going to take a bit because we are moving a ton of files. So go make some coffee and make sure your computer doesn't goto sleep while you're gone. 🙂
Guess what... same process, slightly different command.
scp -r /public_html/mysqldump.sql username@NEWhostname.com:/public_html
Now we're going to use mysql dump again to put our Magento database into place on the new server. You should no longer have a terminal open for the old server, or at least, not in your main window.
You should now be on the new host to do these next steps!
We're going to open /app/etc/local.xml as we may need to make hostname and/or username and password changes for Magento to connect to the database.
We're going to want 644 on files and 755 for folders.
Reference this for more info on Magento filesystem permissions
More than likely you will need to do this. I'm going to assume you have not already switched DNS so you are using a temp url to test before deploying to production...right? 😉
We're going to edit core_config_data for this.
Then test some more. Since you took an inventory of all functionality before migrating, you should have a faux checklist to go through and make sure everything is working.
Some things in particular to look for:
Now you need to reindex your data. Login and refresh all the caches and reindex catalog url rewrites.
You may need to setup and change some DNS settings, but your actual migration is completed at this point and should be functioning as expected, since you tested it and re-ran all cache and indexes.
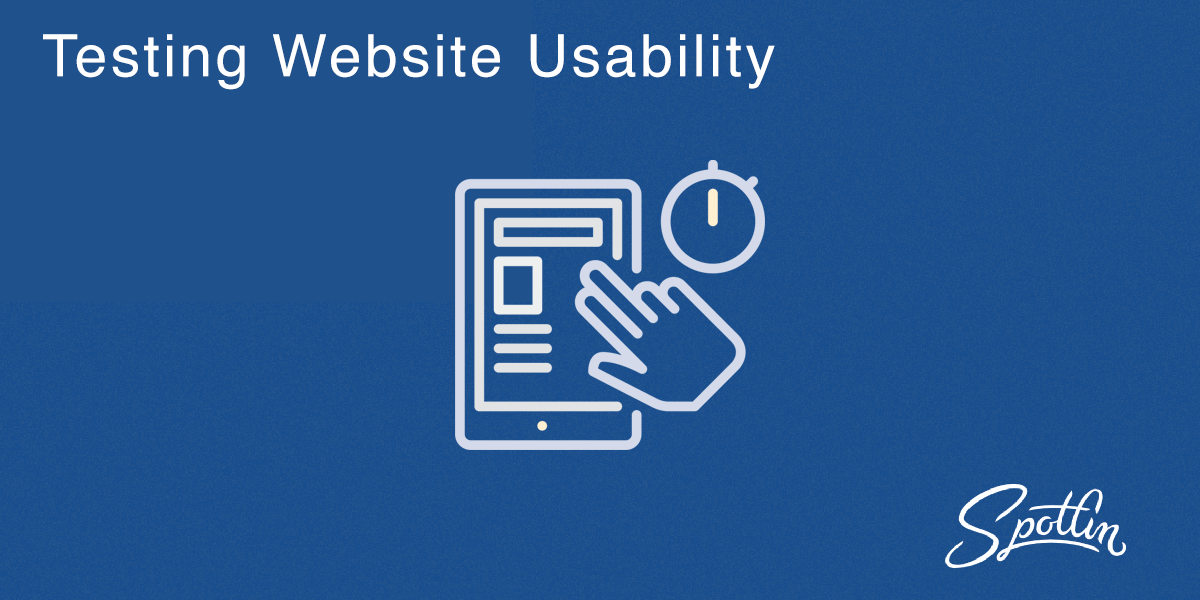
In this post we’re going to show you some of our favorite tools to use for user testing.
User testing can be critical for increasing conversions, but it isn’t just for existing sites. You can user test designs and even wireframes.
These tools can be used to bring more value to your work and efforts by validating how users intend to interact with your site.
Below are some tools to help you get started user testing sites.
User testing existing sites is the easiest place to start and not just inclusive of actual tests that users need to complete. If you have enough existing traffic you can use your current traffic to do a lot of legwork for you.
We especially like heat maps for identifying if CTAs (calls to action) are working effectively or end up buried in your content and are not converting well.
Our favorite is CrazyEgg because it’s easy to setup and free to get started. It’s easy to embed and they have a WordPress plugin.
CrazyEgg seems to feel a bit more complete in terms of a product.
HotJar is very similar to CrazyEgg, also easy to setup and also has a WordPress plugin to setup the embed for the tool to start tracking and analyzing.
A big win for HotJar is they have a free forever plan. It has some limits but works well for most small to medium websites that get a moderate amount of traffic.
Visit HotJar
Actual real life user tests are incredibly valuable, especially if you’re still in the design or mock phases of a project.
The below tools and services can be used to create questionnaires, get design feedback, and usability test functionality or even likeliness of someone to buy a product or service.
Great for making sure your message is clear and site is easy to navigate for your target customer.
These are in no particular order and for the most part are very similar products.
Collecting, storing, and sorting all this data can be cumbersome. There are tools and services to help bring all these usability testing data together in one place and help you understand it.
UserVoice offers product roadmaps based on user feedback and/or bug reporting. This is great for collecting issues and feedback from clients. It also integrates with Jira and Visual Studio Team to keep everyone in the loop.
Need something a bit more low tech without so many options or frills built in? Here's a few you can use for basic bug and feedback tracking.
These tools do A LOT. From heat maps, a/b testing, user feedback collection, to device testing. These are full service suites of tools best for marketers, designers, and developers.
Optimizely does a host of services from A/B testing to heat maps and data experimentation. Chiefly it helps marketing teams test, learn, and deploy experiments to maximize ROI.
UserZoom is similar to Optimizely but its also great for design and development teams to collect feedback and data from clients. If you don't have your own user base to collect and test on you can use UserZooms wide range of audience.
Not really a usability tools or service, but great for emulating a device lab! It's essentially a "screen mirror" across multiple devices, operating systems, and more.
Ghostlab is a great way to synchronize a bunch of devices when testing. Useful for working in teams or with clients to track down bugs or issues. It integrates with PM software like Jira, so you can track what needs fixed and who should be fixing it.
There are a lot of tools out there when it comes to usability testing and it can be overwhelming, so we hope this was helpful and let us know in the comments:
Comment below!

Slides and more information from our talk at WordCamp Philadephia 2019, where Drew Poland is giving a lightning talk on Website Auditing.
WCPHILLY2019 - Website Auditing Process by Drew Poland
These are not meant to be exhaustive but rather a starting point to take and expand or remove from.
get_plugins to spit out a list of all plugins (codex)
BigCommerce is a ecommerce platform that is growing rapidly and really starting to take control of the ecommerce platform market. We’re fully invested in BigCommerce as a solution for our clients ecommerce needs.
Especially when coupled with WordPress it opens a huge amount of flexibility and functionality for small to enterprise ecommerce sites to grow and scale.
I’m going to dive into what I think the future of CMS is, problems surrounding CMSs, what headless is, and how it can be used effectively.
It seems to be trending that the future of CMS is going headless for larger organizations and probably even smaller businesses as headless continues to take off in the right direction.
There’s a few big reasons for this.
There are simply more front-end developers that CMS specific developers, like those that only work on WordPress, Drupal, or BigCommerce.
Responsive is more than just a screen, it’s potentially a variety of other devices too. Imagine you could feed data directly from a source to ANY or Multiples of devices like Alexa, screen readers, and game consoles.
By building a Headless architecture, your presentation layers (what the user sees, the front-end) lives standalone and can connect to as many objects as it needs to.
Currently, when using a CMS a lot of times you feel like you’re locked into the CMS in terms of look, feel, and functionality. The CMS is leading the charge because you have to live within its boundaries.
If you use WordPress, you can’t do things like “hack core” - you can of course, extend it. Which is the suggested method to making large functionality changes to built in functions. This way you can successfully manage and update WordPress without breaking everything, which is critical.
This is your typical CMS or website. All the content, look, feel, and functionality is build, managed, and maintained from one central system. Think a WordPress site where you have multiple plugins and a theme.
Decoupled is similar to the Traditional architecture except it separates the layers. So you typically have 3 layers:
It might sound like traditional (and one could argue it KINDA is depending on what type of CMS/system you are using), but they are built independently of each other and just happen to very tightly interlinked so each piece is necessary for the other to function.
So how is headless different from decoupled?
It’s pretty similar except generally each piece in the architecture can run independently without having to be coupled together, unlike decoupled where they are separate but require the other piece to function like you would want.
Headless is more API centered so you can access the data you want through this API that lives as a layer between the management UI, the pieces you interact with it from, and what the end user sees.
Another way of describing Headless, would be a bunch of systems that can live independently of each other (standalone) or grouped together in a manner that makes them work seamlessly with each other to a front facing user.
Imaging sockets in a surge protector.
The surge protector is actually plugged into the wall, and the items plugged into the surge protector are accessed (given power) via the surge protector. This also means you can unplug just one item if you no longer need it, need to plug it into a separate surge protector, or just directly into a wall in another room. It’s simply easier to unplug something and move it and have it just work.
I call this, lift and shift. We’ll talk about that later.
Well, ideally we couple it together in one place where we have all the control!
Here’s a common use case. Let’s say you have 3 websites:
Even if branded and designed to look and function exactly the same, these are still 3 separate websites probably built on 3 different systems or content management systems (CMSs).
So if you add, say, a portal to your business site for clients to access marketing documents and resources, you’re likely going to want to protect that with each client having accounts to access only their resources.
So that’s one place a client has a login.
If that same client buys as a wholesaler (likely) from your commerce site, that’s a second login.
We could stretch this and say the client has a login to comment on blog posts (not likely but not exactly unlikely either, but I’m trying to paint a picture for you), which means a 3rd possible login.
How annoying, especially if you need to do something globally for that client across all 3 sites. It has to happen at 3 different places, and you have to remember how to do it 3 different ways.
This is your main website about your business.
A separate blog built on WordPress or another CMS.
A commerce site where you sell to wholesalers
Here’s where tying it all together makes a lot of sense and brings about the beauty of building a headless system, and just a few ways that headless solves a lot of problems.
One of my favorite things about a headless architecture is the ability to “lift and shift.” It’s not the big overarching point of headless but its a bit of a bonus feature for large systems that need a very deep level of redundancy.
Imagine absolute nightmare scenario. Your hosting provider goes down and you are losing tons of sales, you need some type of redundancy right now.
Since you are running a headless architecture, you can have a server provisioned and systems in place to lift your site up and shift it over to another platform in minutes.
You're in luck, a Certified BigCommerce Partner is right at your fingertips.
Great! That's our speciality and we would be happy to talk about your project with you.
Why do we think BigCommerce and WordPress is a killer combo and very likely the future of commerce? A whole bunch of reasons!
You’re not married to the very common look of most ecommerce sites. You can design products and related pages to look and feel however you want with no boundaries.
If you’re familiar with the WordPress dashboard, then the BigCommerce store dashboard won’t be too intimidating. It has a very modern UI and makes everything clearly labeled and easy to access.
Adding and managing products, running sales reports, and managing orders are all incredibly easy and well documented.
BigCommerce makes selling via outside channels (omni-channel) like Amazon or eBay easy to get up and running and manage.
You’ll be able to have a single hub where you can sell and manage your inventory from social media, marketplaces, and even in-person.

WordPress has the REST API and BigCommerce IS an Open SAAS (software as a service), so at both points in the stack there’s possibility to interact with either platform at an API level.
Technically, you could run both of those headless into something else all together or completely decoupled.
The support is top notch. Both as a Customer and a Partner, BigCommerce goes the extra mile.
There’s also a large community on the WordPress side, and the BigCommerce community is growing rapidly with more presence at conferences and events.
There are multiple ways to integration BigCommerce into WordPress. You can use the BigCommerce plugin, or if you have some really specific you are trying to do, directly interact with the BigCommerce API.
The BigCommerce API will even let you build your own checkout. While not recommended, it’s certainly possible to have complete control from top to bottom.
BigCommerce has worked extensively with to develop a WordPress plugin that has tons of functionality and features packed into it.
It’s almost as simple as installing and activating the plugin. There’s some styling and setup to be taken care of, but a lot of the big functionality will come right out of the box. So no need to build custom connections too BigCommerce from WordPress.
Well, the first thing is to run a discovery phase and start creating the architecture on paper. Once we know all the systems involved, we can start planning how to implement, identify hurdles, and even start a mock build.
A lot of this can be done in parallel to other phases like design and content creation.
Otherwise the higher end part of the process is fairly typical for a web build.


